
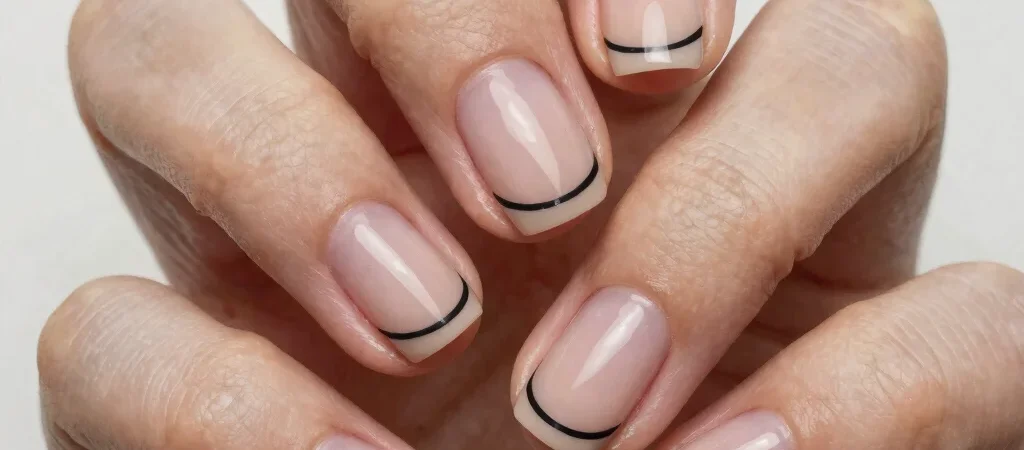
A thin black arc over a clean nail can feel more considered than a full set of color. Negative-space nail art depends on that tension: the design is made not only by what gets painted, but by what stays visible.
Start With The Open Area
Before reaching for polish, decide where the unpainted space should sit. A crescent near the cuticle reads differently from a narrow stripe down the center, and both change the apparent balance of the nail. Sketching the shape first, even loosely, helps keep the negative space intentional rather than accidental.
Build A Clear Graphic
Choose one visual idea—a curve, a frame, or a pair of offset lines—and let it lead. Fine liner brushes help with controlled strokes, while striping tape can create crisp borders if it is lifted before the polish fully dries. A high-contrast combination such as black and a sheer neutral keeps the geometry legible without crowding it.
The shape of the nail matters, too. A line that follows the sidewall can emphasize length; a crosswise band can make a shorter nail feel deliberate and graphic. Repeat a motif across the set, but vary its placement so the hands feel related rather than mechanically identical.
Finish Without Filling In
A clear top coat brings the painted and bare areas into one polished surface. Apply it in smooth, even passes, taking care not to drag color into the open section. The best negative-space designs leave enough room for the eye to rest; if every nail has a second motif, remove one.